Setup
Instructions to set up your Avatar.
Setup up Project
- Open your project (introduction guide if you haven't yet).
- Intro
Assets, make a folder for your avatars, e.g.,Avatars.
If you have made a fork, you can exclude the folder with .gitignore or with _ before the folder name.
- Import your avatar assets into the folder.
You can separate different avatars into subfolders if needed. - Make a new scene, e.g.,
OpenMe(this is just a convention).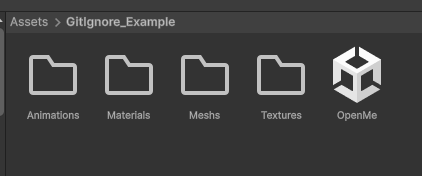
- Place assets in corresponding folders.
- Open the scene.
If you have any problem with the importing process, please refer to the From scratch tab.
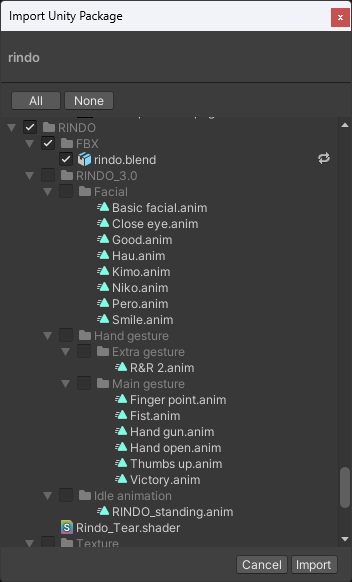
- Import the Unity package.
You can drag and drop the .unitypackage file into the Unity Editor window,
or use Assets -> Import Package -> Custom Package... from the top menu,
or just double-click the file in your file explorer,
to import it.
- Validate files and click "Import".
- Open the scene or create a new one with a prefab.
Fix Meshes
- Select the mesh in projet and ensure the avatar is selected as
Humanoidin theRigtab of theInspector.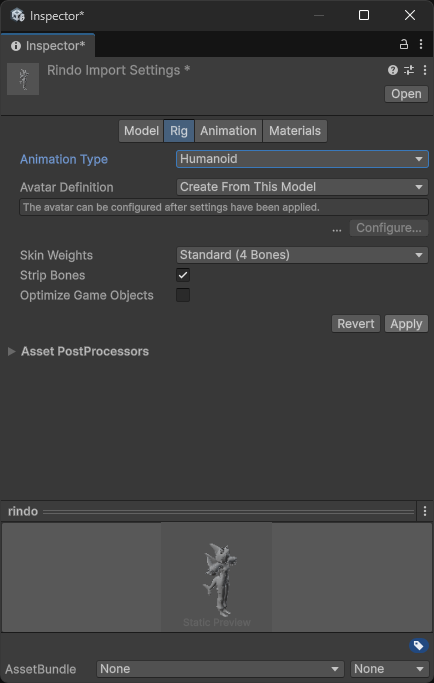
- Click on
Apply. - Click on
Configure...to open theAvatar Configurationwindow and ensure the bones are correctly mapped.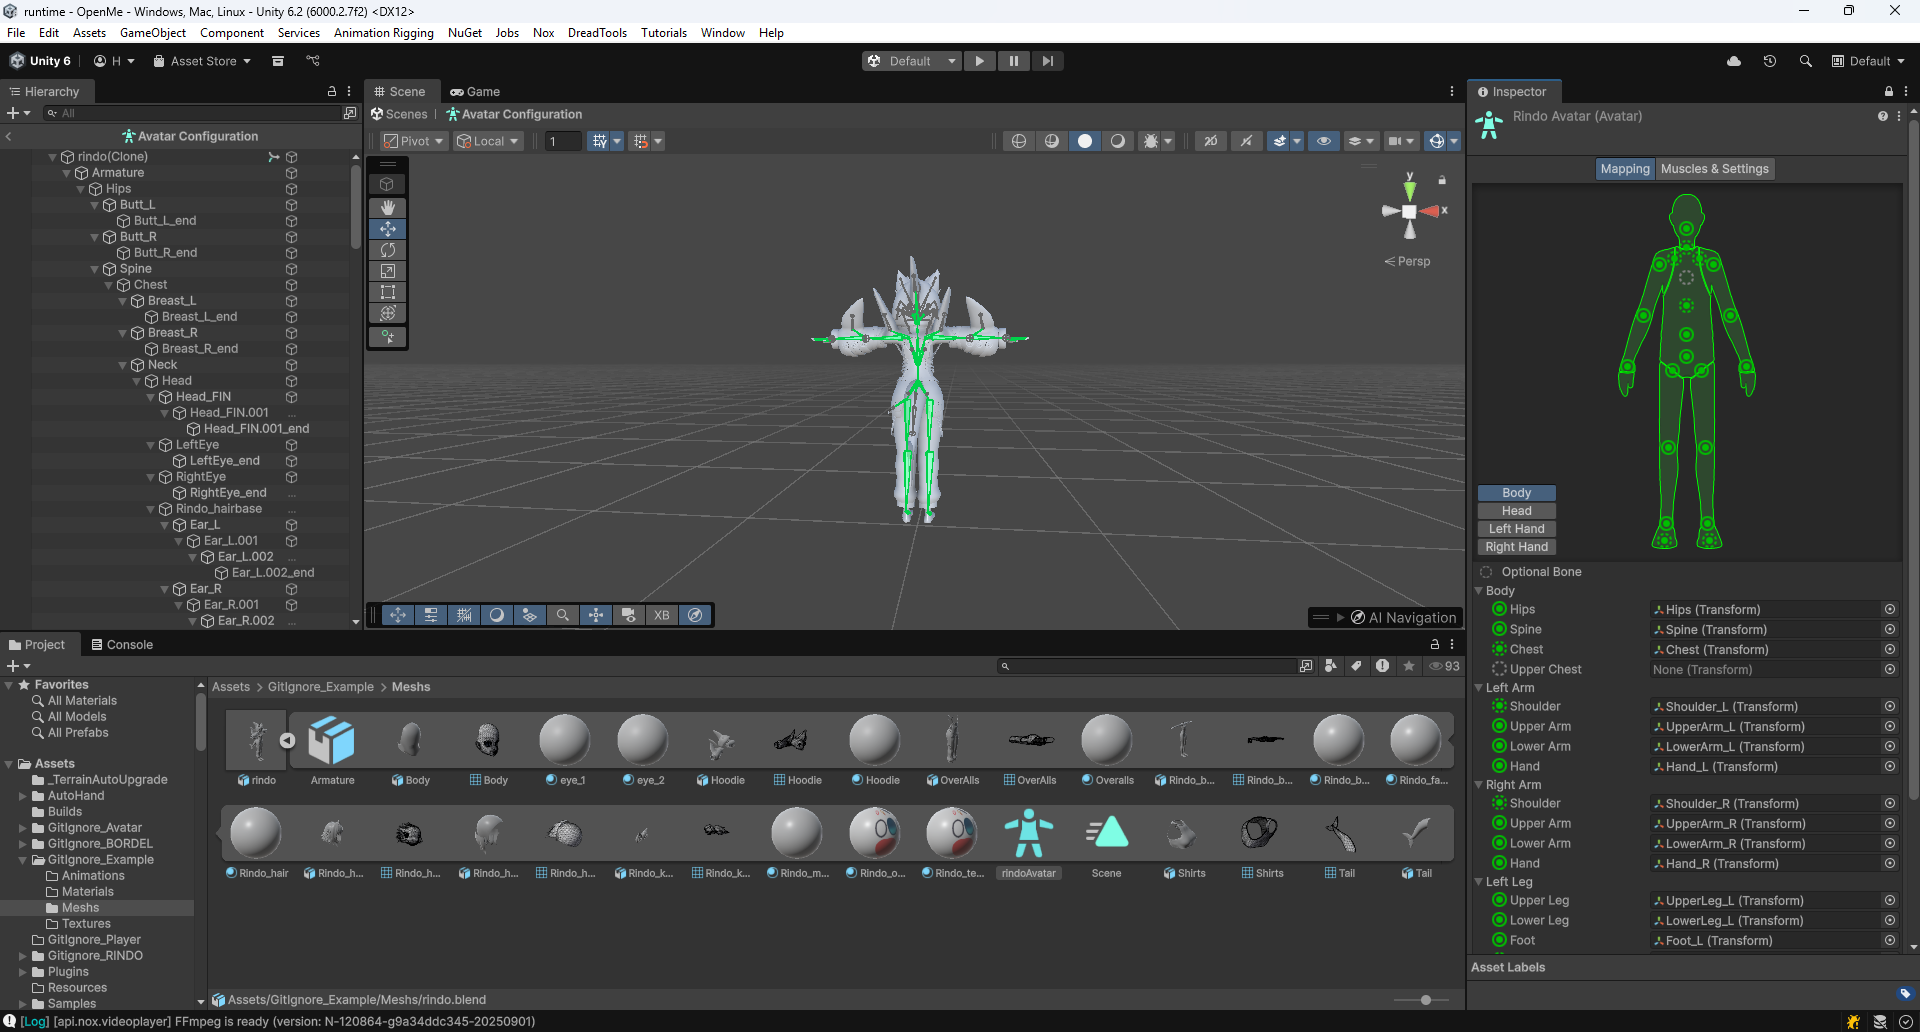
If some bones are missing or incorrectly mapped,
you can manually assign them by dragging and dropping the corresponding bones from the Hierarchy window to the Avatar Configuration window.
Is recommended to check Jaw in Head, if the is correctly mapped, you can just remove assignment (the jaw is optional) with Suppr under Insert in you keyboard.
If a bone (required) is missing, the preview will show a red cross and you won't be able to proceed, you need to assign it.
- Once all bones are correctly mapped, click on
Done. - You can now drag and drop the mesh into the scene
Fix Blendshapes Rendering
To fix some issues with the model (like blendshapes rendering with shaders), you can follow these steps:
- Select the mesh in projet and ensure you are in
Modeltab of theInspector. - Change
Read/WritetoOn. - Modify
Legacy Blend Shape NormalstoOn. - Click on
Apply.
![]()
Fix Materials
Nox uses the Universal Render Pipeline (URP), that differs from the default Built-in Render Pipeline (deprecated).
You can follow the official Unity guide to convert materials to URP.
If you need to a specific shader, you can find assets at the Unity Asset Store or the list of Shader page.